Define Site
The first step is to define the site within Dreamweaver.
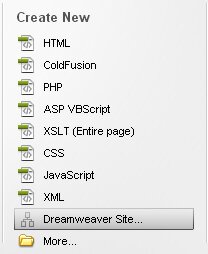
In the opening screen click ‘Dreamweaver Site’
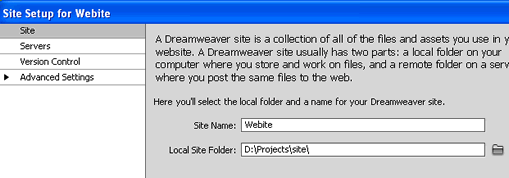
In the Site Setup window give the site a name and specify the folder on your computer where all the files will be stored (by clicking the folder icon next to the Local Site Folder field).
Click the ‘Save’ button when done.
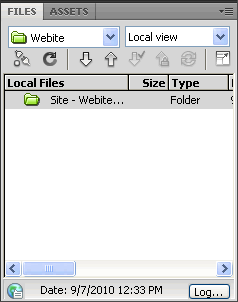
You will notice that the ‘Files’ panel will reflect the above details.
From the ‘Files’ panel you will be able to easily access all the files of your website.
If you are using any images in your website like the logo, photos etc., you can create an images folder within this folder and store all your images here.
Download the images we will use in this tutorial
Dreamweaver CS5 Tutorial
- Dreamweaver Cs5 Tutorial
- Define Site
- Dreamweaver CS5 Template
- Dreamweaver Website Layout
- CSS Layout – Dreaweaver CS5
- Dreamweaver CS5 Website Header
- Dreamweaver DIV/ CSS Layout
- Dreamweaver Menu
- Editing Styles in Dreamweaver
- Editable Regions in Dreamweaver Template
- Webpages in Dreamweaver
- Linking to webpages in Dreamweaver
- Styles for text links in Dreamweaver
- Web Page Content
- Text Styles in Dreamweaver
- Heading Styles | Dreamweaver
- Contact Forms | Dreamweaver
- Form Styles | Dreamweaver
- Test Website | Dreamweaver
- FTP/ Upload Files to Hosting Server | Dreamweaver
Posted in Dreamweaver | No Comments »


