Formatting Images in Dreamweaver CS4
Now we need to insert the image into the content. To align it as designed in our layout follow these steps:
- Click at the beginning of the 2nd paragraph
- Insert > Image > browse and select picture.jpg
- The picture will get inserted at the beginning of the 2nd paragraph.
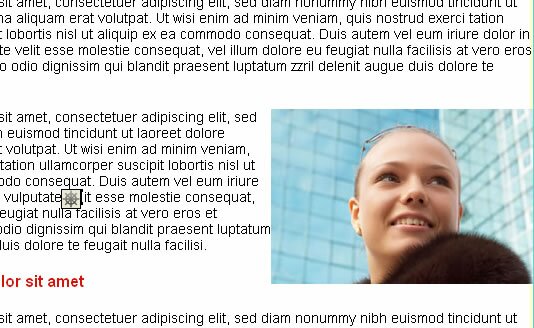
- Select the picture and select ‘Right’ from the ‘Align’ drop down in the ‘Properties’ Panel

- The picture will now align to the right and all the text will wrap around it neatly.

- If we don’t want the text to touch the image we can give some horizontal spacing. To do this, select the image and enter the value ’10′ next to ‘H Space’ in the Properties Panel.

- Preview the page in the browser and save all the files. We have now completed creating our home page.
Dreamweaver CS4 Tutorials
- Dreamweaver CS4 Tutorial
- Define a New Site in Dreamweaver CS4
- Create a template in Dreamweaver CS4
- Design your template in Dreamweaver CS4
- Design the CSS Style Sheet in Dreamweaver CS4
- Insert Images in Dreamweaver CS4
- Creating the Menu in Dreamweaver CS4
- Content in Dreamweaver CS4
- Insert Editable Regions in the Dreamweaver Template
- Dreamweaver CS4 Template Based Web Pages
- Formatting Headings in Dreamweaver CS4
- Formatting Images in Dreamweaver CS4
- Linking pages in Dreamweaver CS4
- Forms in Dreamweaver CS4
- Dreamweaver CS4 Form Validation Tutorial
- Tables in Dreamweaver CS4
- Testing the Website in the Browser
- Upload your site with Dreamweaver CS4
- How to validate your Contact PHP form in Dreamweaver CS4
Tags: Dreamweaver CS4 Tutorials, Formatting Images in Dreamweaver CS4
Posted in Dreamweaver | No Comments »
