Fireworks Designs
Now that you have created the logo in Fireworks designs for the website can be created.
Remember the website design we set out to create in Fireworks? Here it is again:
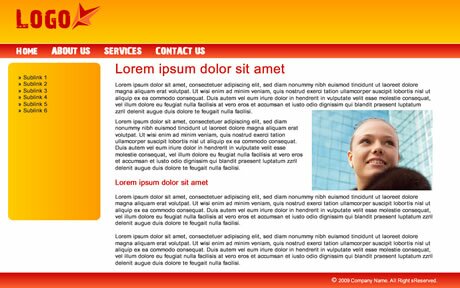
Let’s first create the header area. To do this create a rectange using the ‘Rectangle’ vector tool.
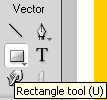
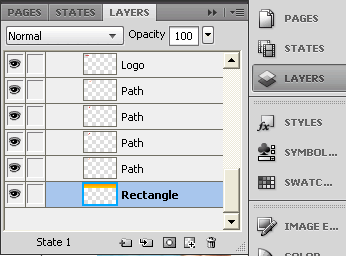
Since we already creates the logo you will notice that the rectangle is created over the logo hiding it from view.
To take the rectangle behind the logo:
- Open the ‘Layers’ window. You can do this from Window > Layers
- You will notice that the ‘Rectangle’ layer is right on top.
- Drag this layer to the bottom
- It will move behind the logo
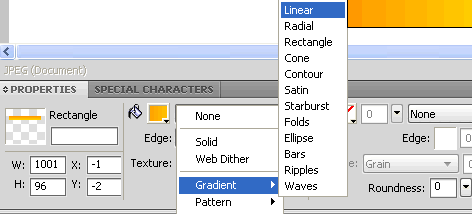
You will notice that the color of the header area behind the logo is not a flat color – it is actually a gradient between 2 colors. To give this gradient effect:
- Select the rectangle
- Open the ‘Properties’ window (Window> Properties)
- Next to the ‘Fill’ color, click on the fill category drop down menu and select ‘Gradient’.
- From the ‘Gradient’ subselection options that opens up select ‘Linear’.
To choose the gradient colors:
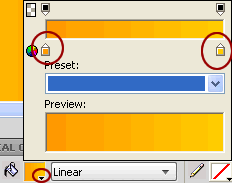
- Click on the tiny arrow below the fill color in the ‘Properties’ window (marked with a small red circle as the bottom of the image above).
- In the panel that opens up, choose an orange color by clicking on the little marker on the left (circled in red in the picture above) and a yellow color for the little marker on the right.
- You will get a nice gradient for the header area behind the logo.
![]()
Now create another rectangle for the menu area. Give it a linear gradient from a red to an orange color.
Use the text tool to create the menu options with appropriate spaces between the options – Home, About Us, Services and Contact Us. In the ‘Properties’ window select the font, size and color you want.

Fireworks CS4 Tutorials
Tags: Fireworks CS4 Tutorials, Fireworks Designs, fireworks tutorials
Posted in Fireworks | No Comments »

