Slice and Save the Images in Photoshop CS3
Once you are satisfied with the layout, deside which parts can be recreated within HTML and which parts will need to be exported as slices.
Text can usually be recreated in HTML except when it is using some special font that is not commonly available on all computers.
Use the slice tool to draw out areas that will be exported as slices.
![]()
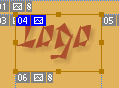
Sliced Object
Give each slice a name which will be the file name of the saved image. To do this:
- Click on the 'Slice Select Tool'

- Select the slice
- Click on the 'Set options for current slice' icon in the 'Options Palette' [Window > Options]
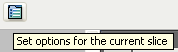
- Enter the name for the slice in the 'Slice Options' window that opens e.g. logo

Each slice needs to be optimized to look good and yet have a low file size so that it loads quickly on the web page. This can be done from [File > Save for Web & Devices].
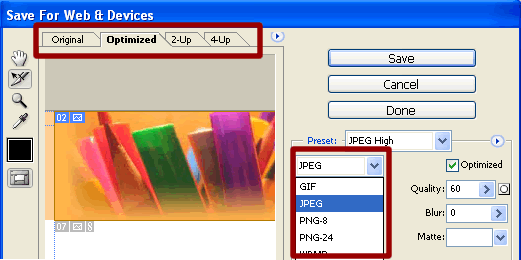
Save for Web & Devices
Select each slice and optimize it in the 'Save for Web & Devices' window. Images with flat colors are usually better optimized as GIF files while images with many colors like photos are usually better optimized as JPEG files.
You can compare the quality and file size of different options by clicking on the Optimized, 2-Up or 4-Up options at the top.
Once you have optimized all the slices you will need to save them into a folder. To do this:
- Select the slices (use the shift key to select multiple slices)
- Click the 'Save' button
- The 'Saved Optimized As' Window will open
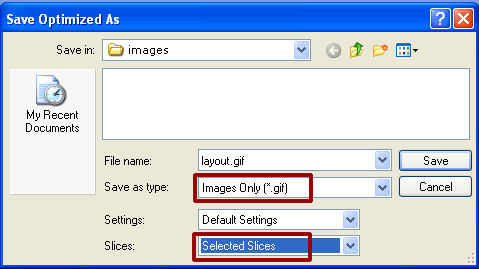
- Navigate to the folder where you would like to save these sliced and optimized images e.g images
- Select 'Images Only' from the 'Save as type' options
- Select 'Selected Slices' from the 'Slices' options
- Click the 'Save' button
- The sliced images in the specified formats will be saved in the specified folder.
Step 1: Create a new Photoshop document
Step 2: Insert images and text
Step 3: Create the website design template
Step 4: Slice and export the images
Project: Create a simple layout
Suggestions for Improvement? If you have a suggestion to improve this tutorial please contact us. We would love to hear from you.